Search for 170” - Off season report - Jerky & Trail Cam tips
Charlie Reade
Disclaimer: Any advice given in this blog is strictly based on my experience in the field and is my opinion only. I have a lot to learn still but enjoy sharing what I have learned.
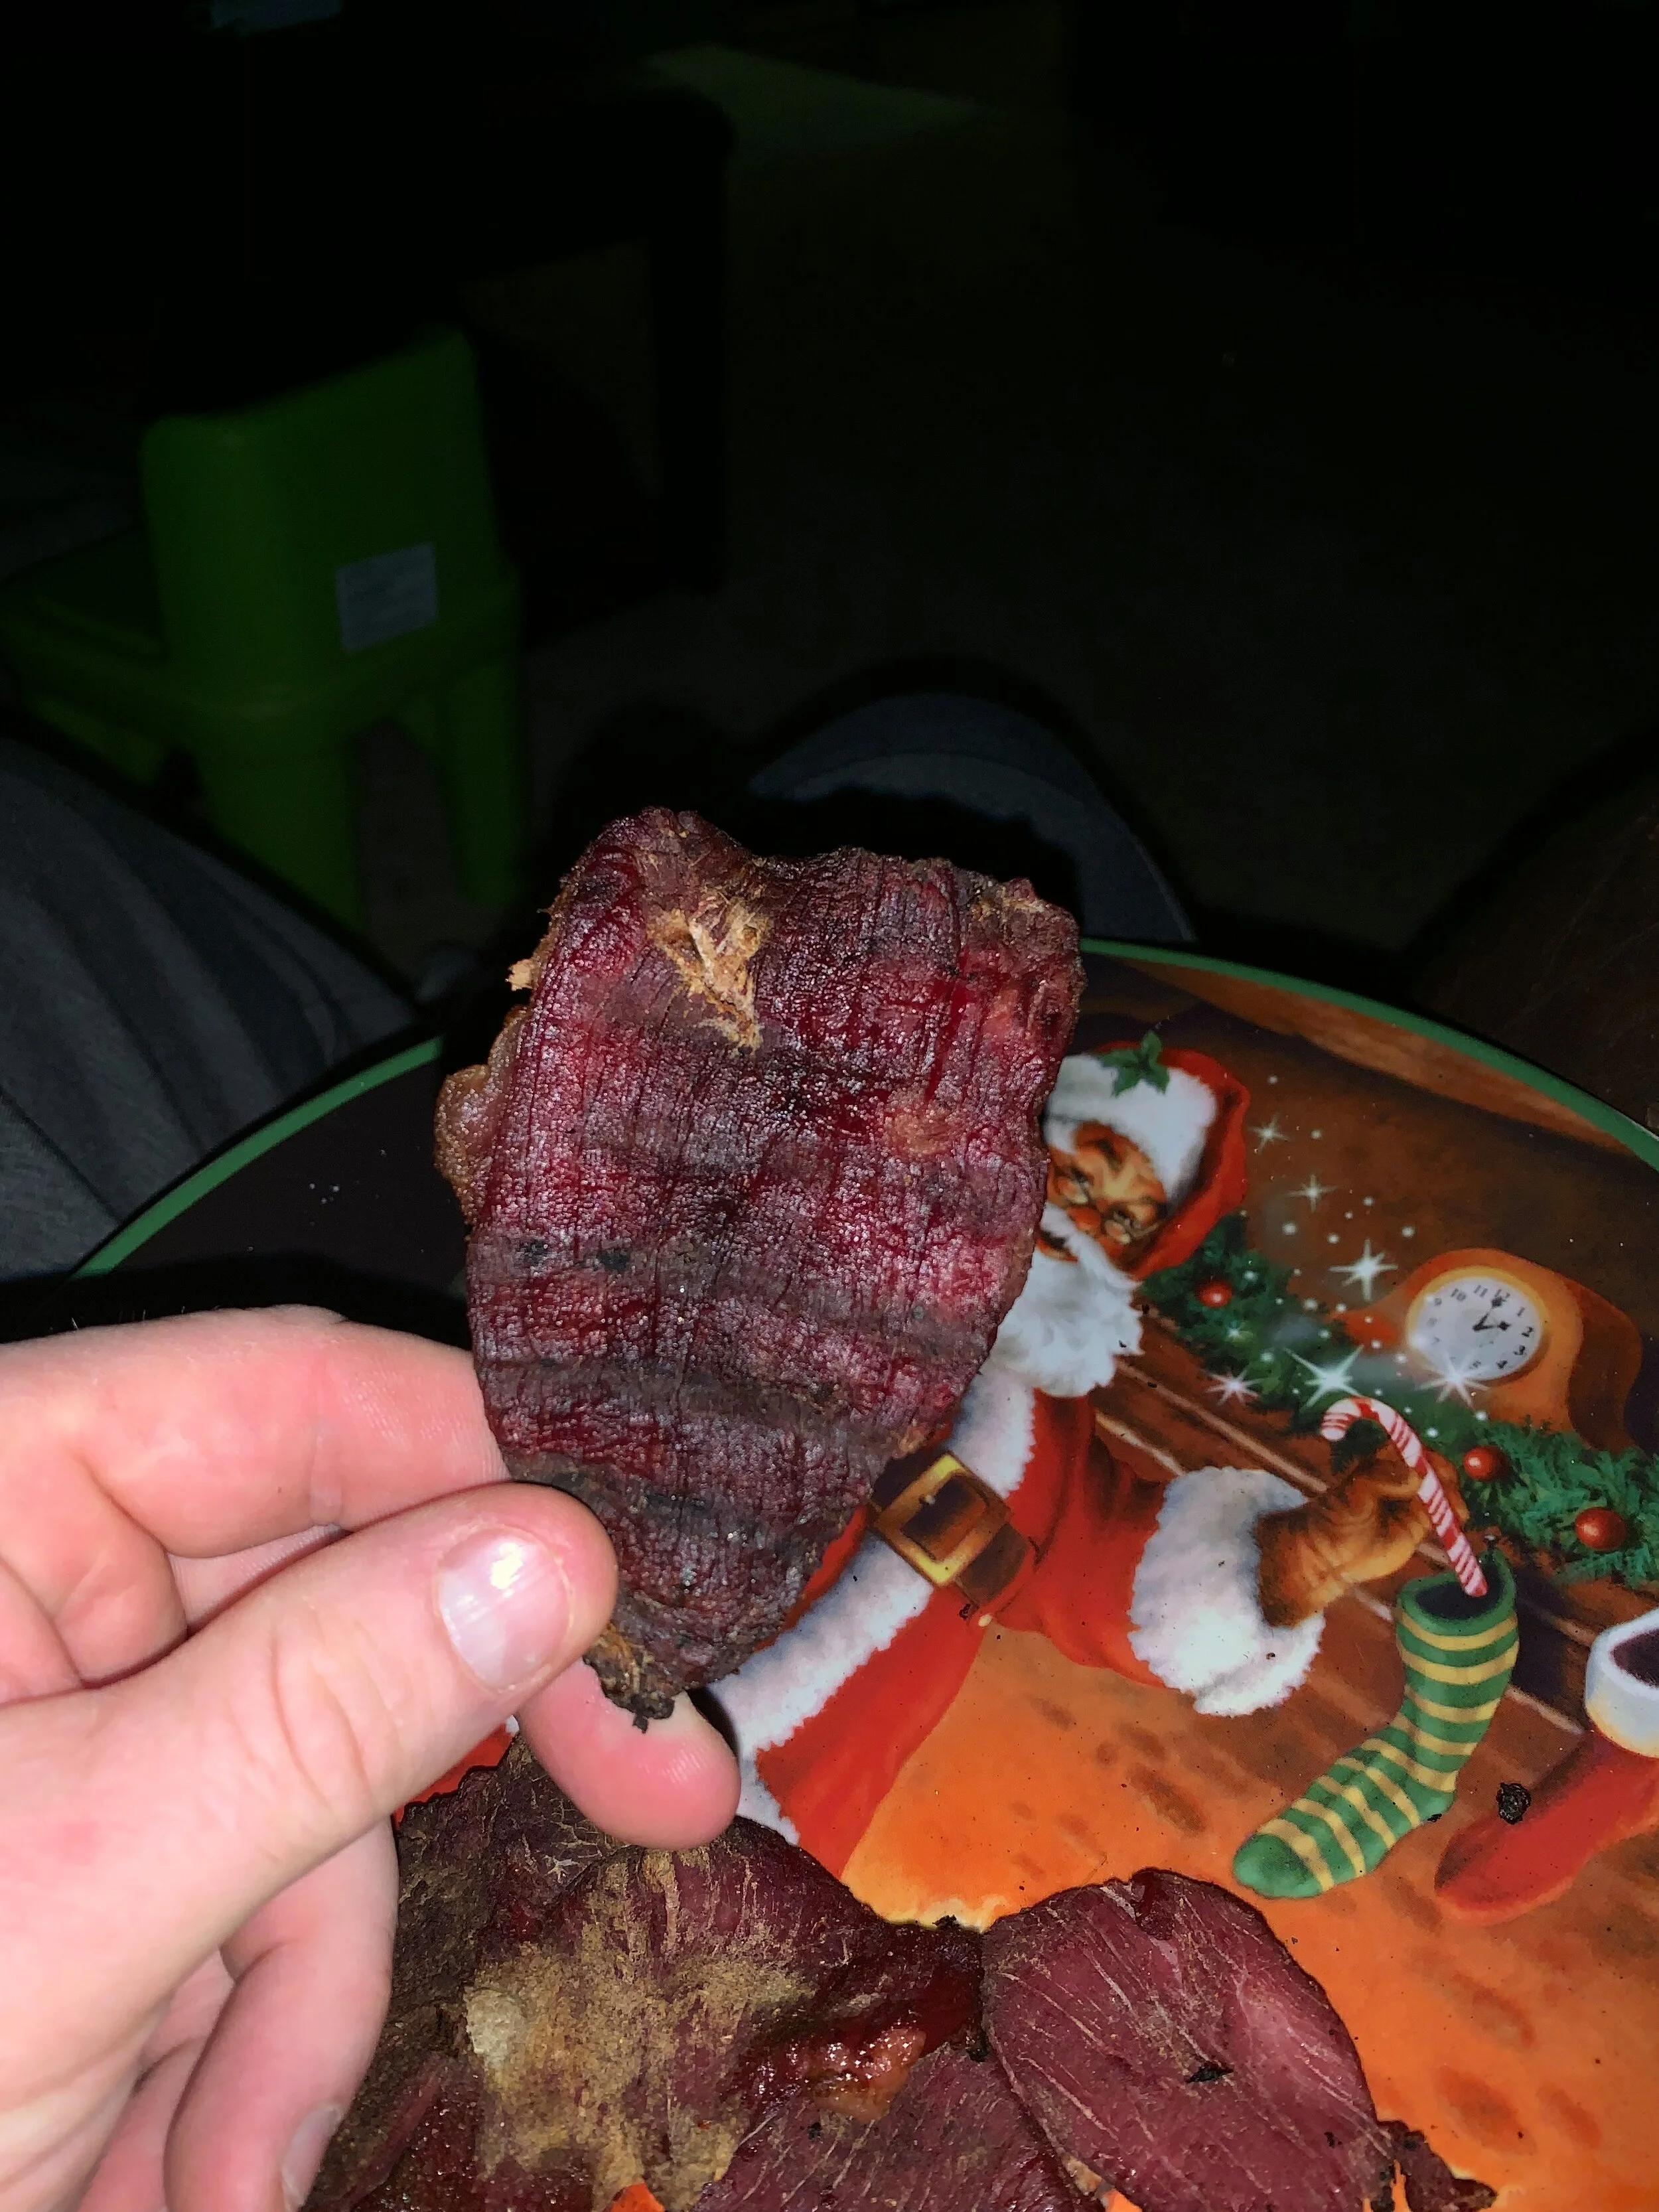
Hey folks! Its been a hectic week. Still, I wanted to make sure that I got an entry into this blog. Mostly because I made a fresh batch of deer jerky, and it is delicious! So, I wanted to share with you my process of making it.
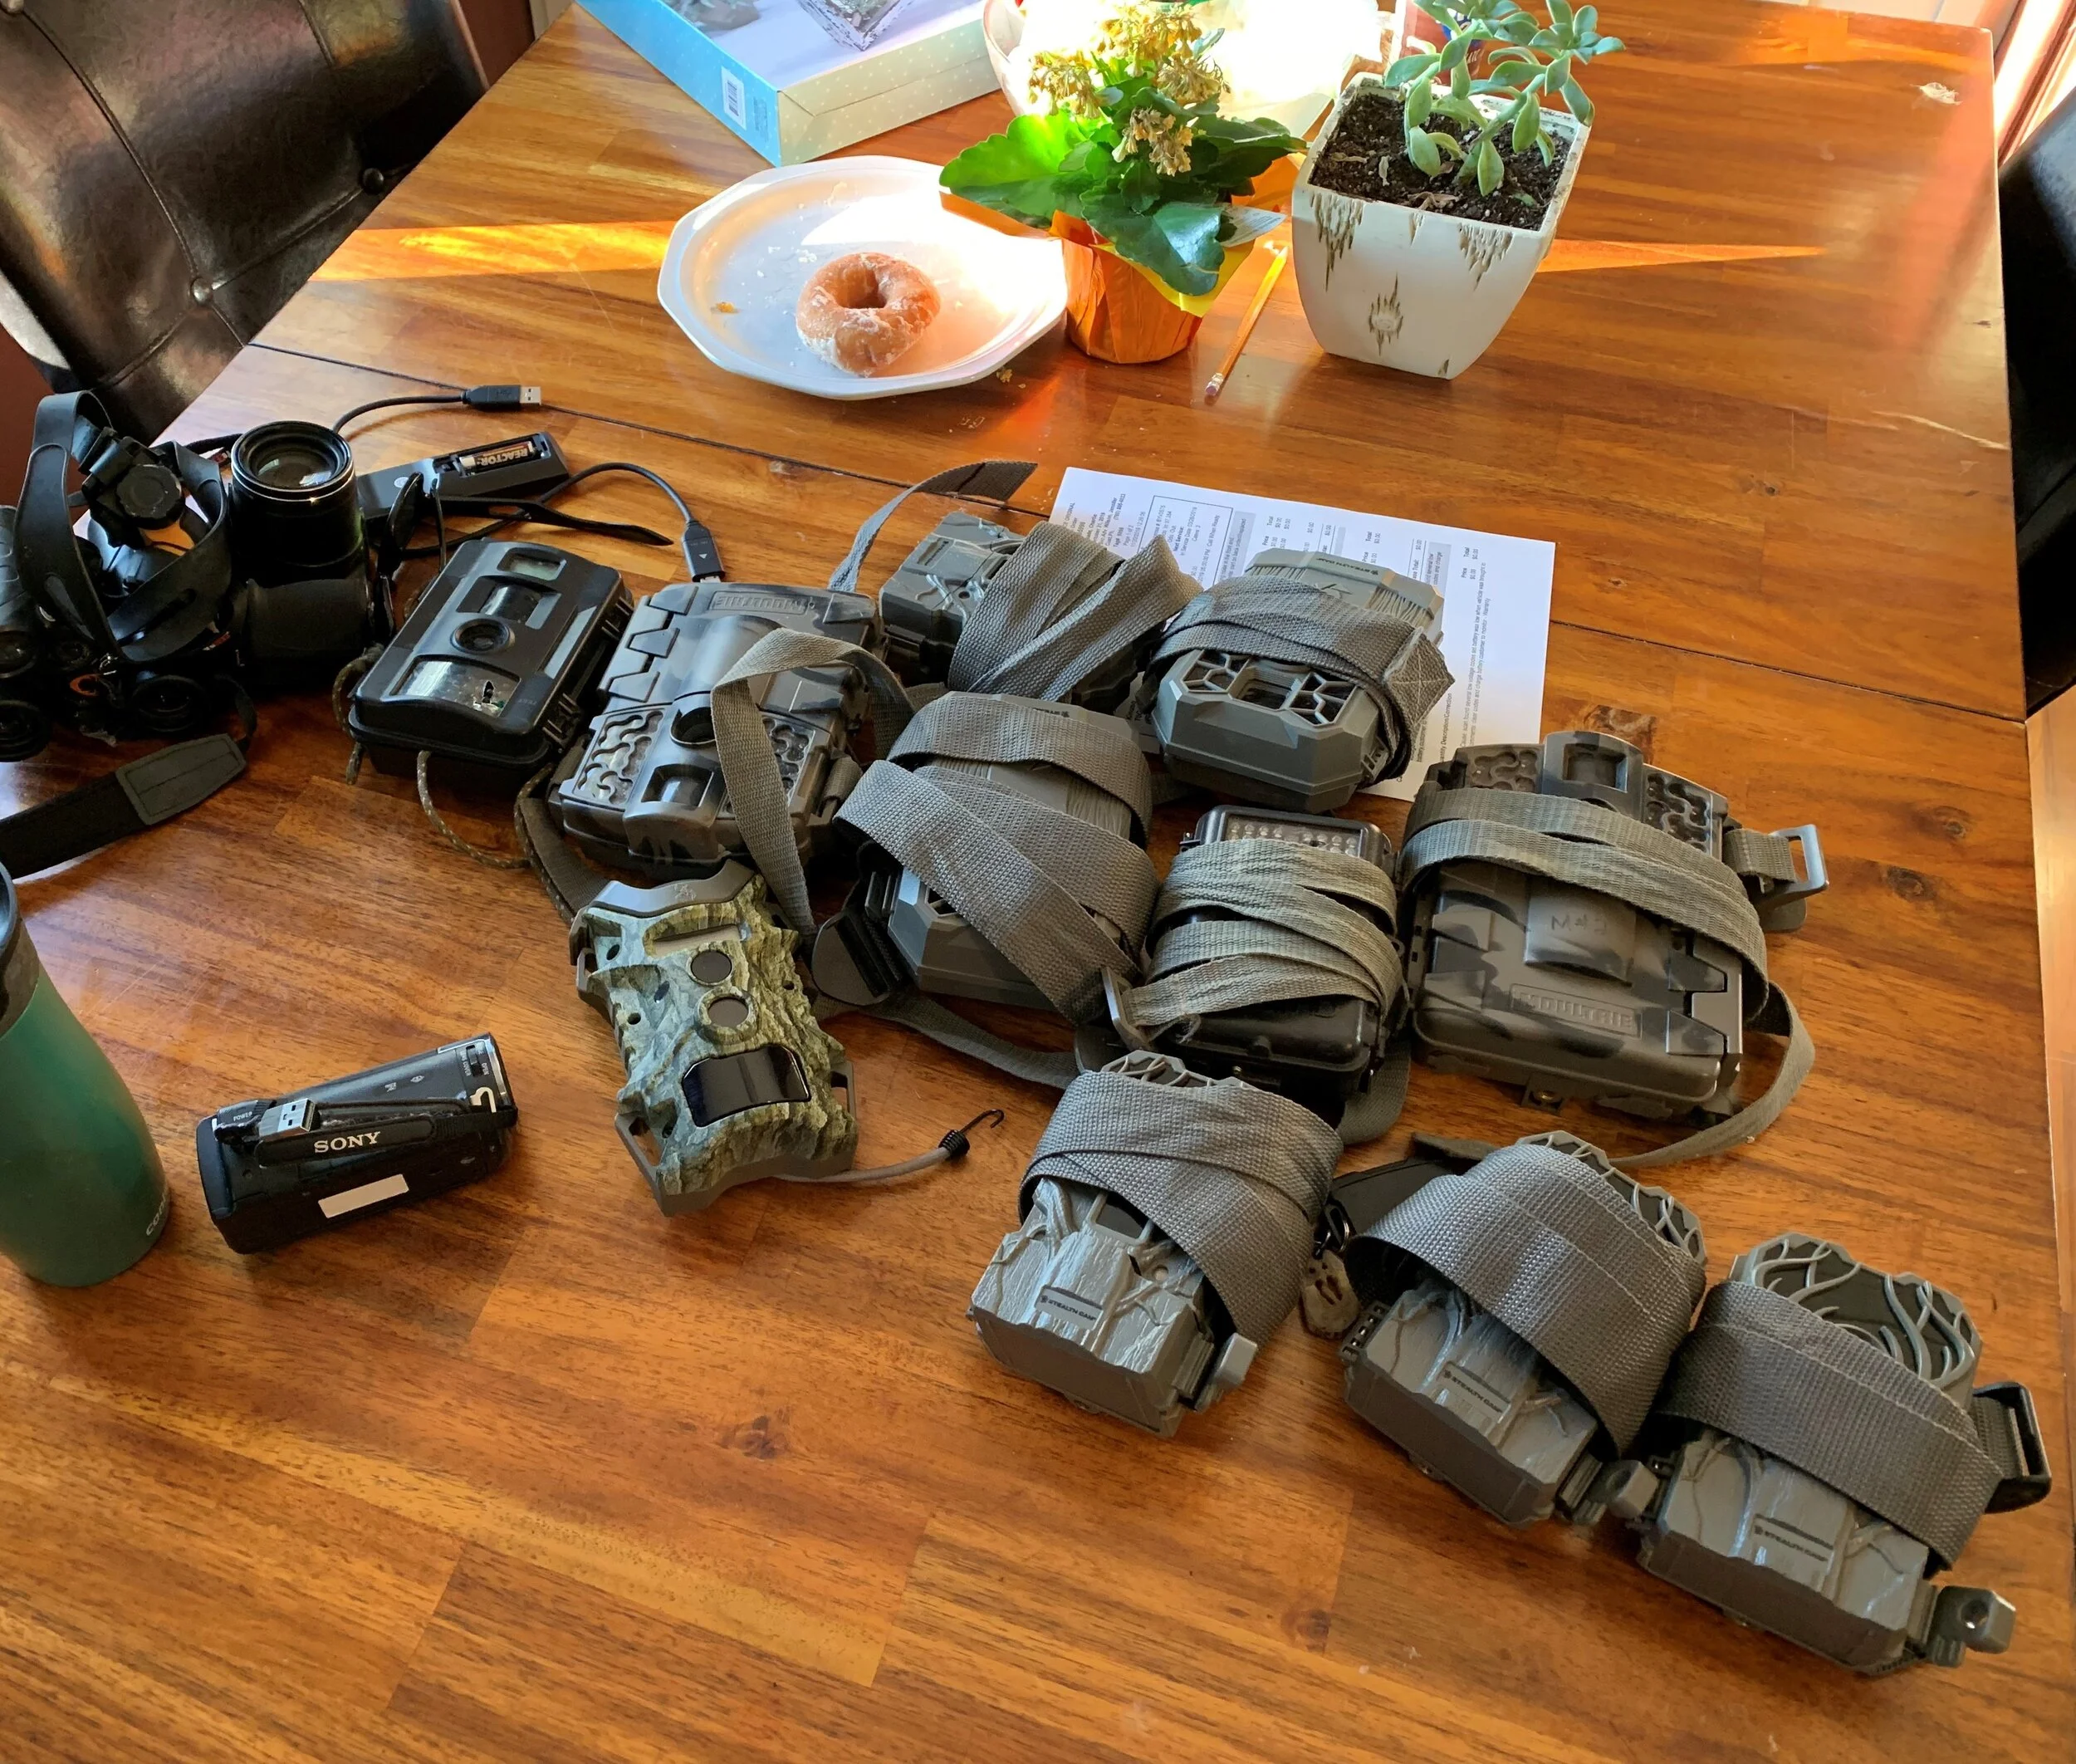
Also, I pulled down several trail cameras last time I was out at my deer property doing some scouting. I wanted to touch on a few of the things I do with my cameras and cards in the off season to make sure that I am ready to go in June.
Hope you enjoy!
When I made my first batch of jerky, I’ll be honest, it was terrible. I built a make-shift smoker out of a filing cabinet, had no clue what spices to use and hadn’t even heard of seasoning cures. The texture was like what I’d imagine a hockey puck would be, and it tasted like I dumped a pepper shaker in my mouth. Brutal. But I suffered through it and my dog enjoyed it too.
Since then, I’ve stepped it up significantly. My first upgrade was purchasing a meat slicer that allows me to adjust the thickness of the meat better, when you’re doing a lot at once, that really helps for consistency! Secondly, and really the one that does the bulk of the work for me was the addition of a Traeger Smoker. This allows me to control the temperature far better and really brought all my meat cooking and smoking to life! My family uses it for everything from steaks to KD and sometimes even chocolate chip cookies. So, smoking some deer jerky is a breeze. Add to that, I’ve been introduced to Hi Mountain seasonings, and I’m confident in saying my jerky has come a long way. That said, I’m always looking for new recipes from anyone willing to share with us.
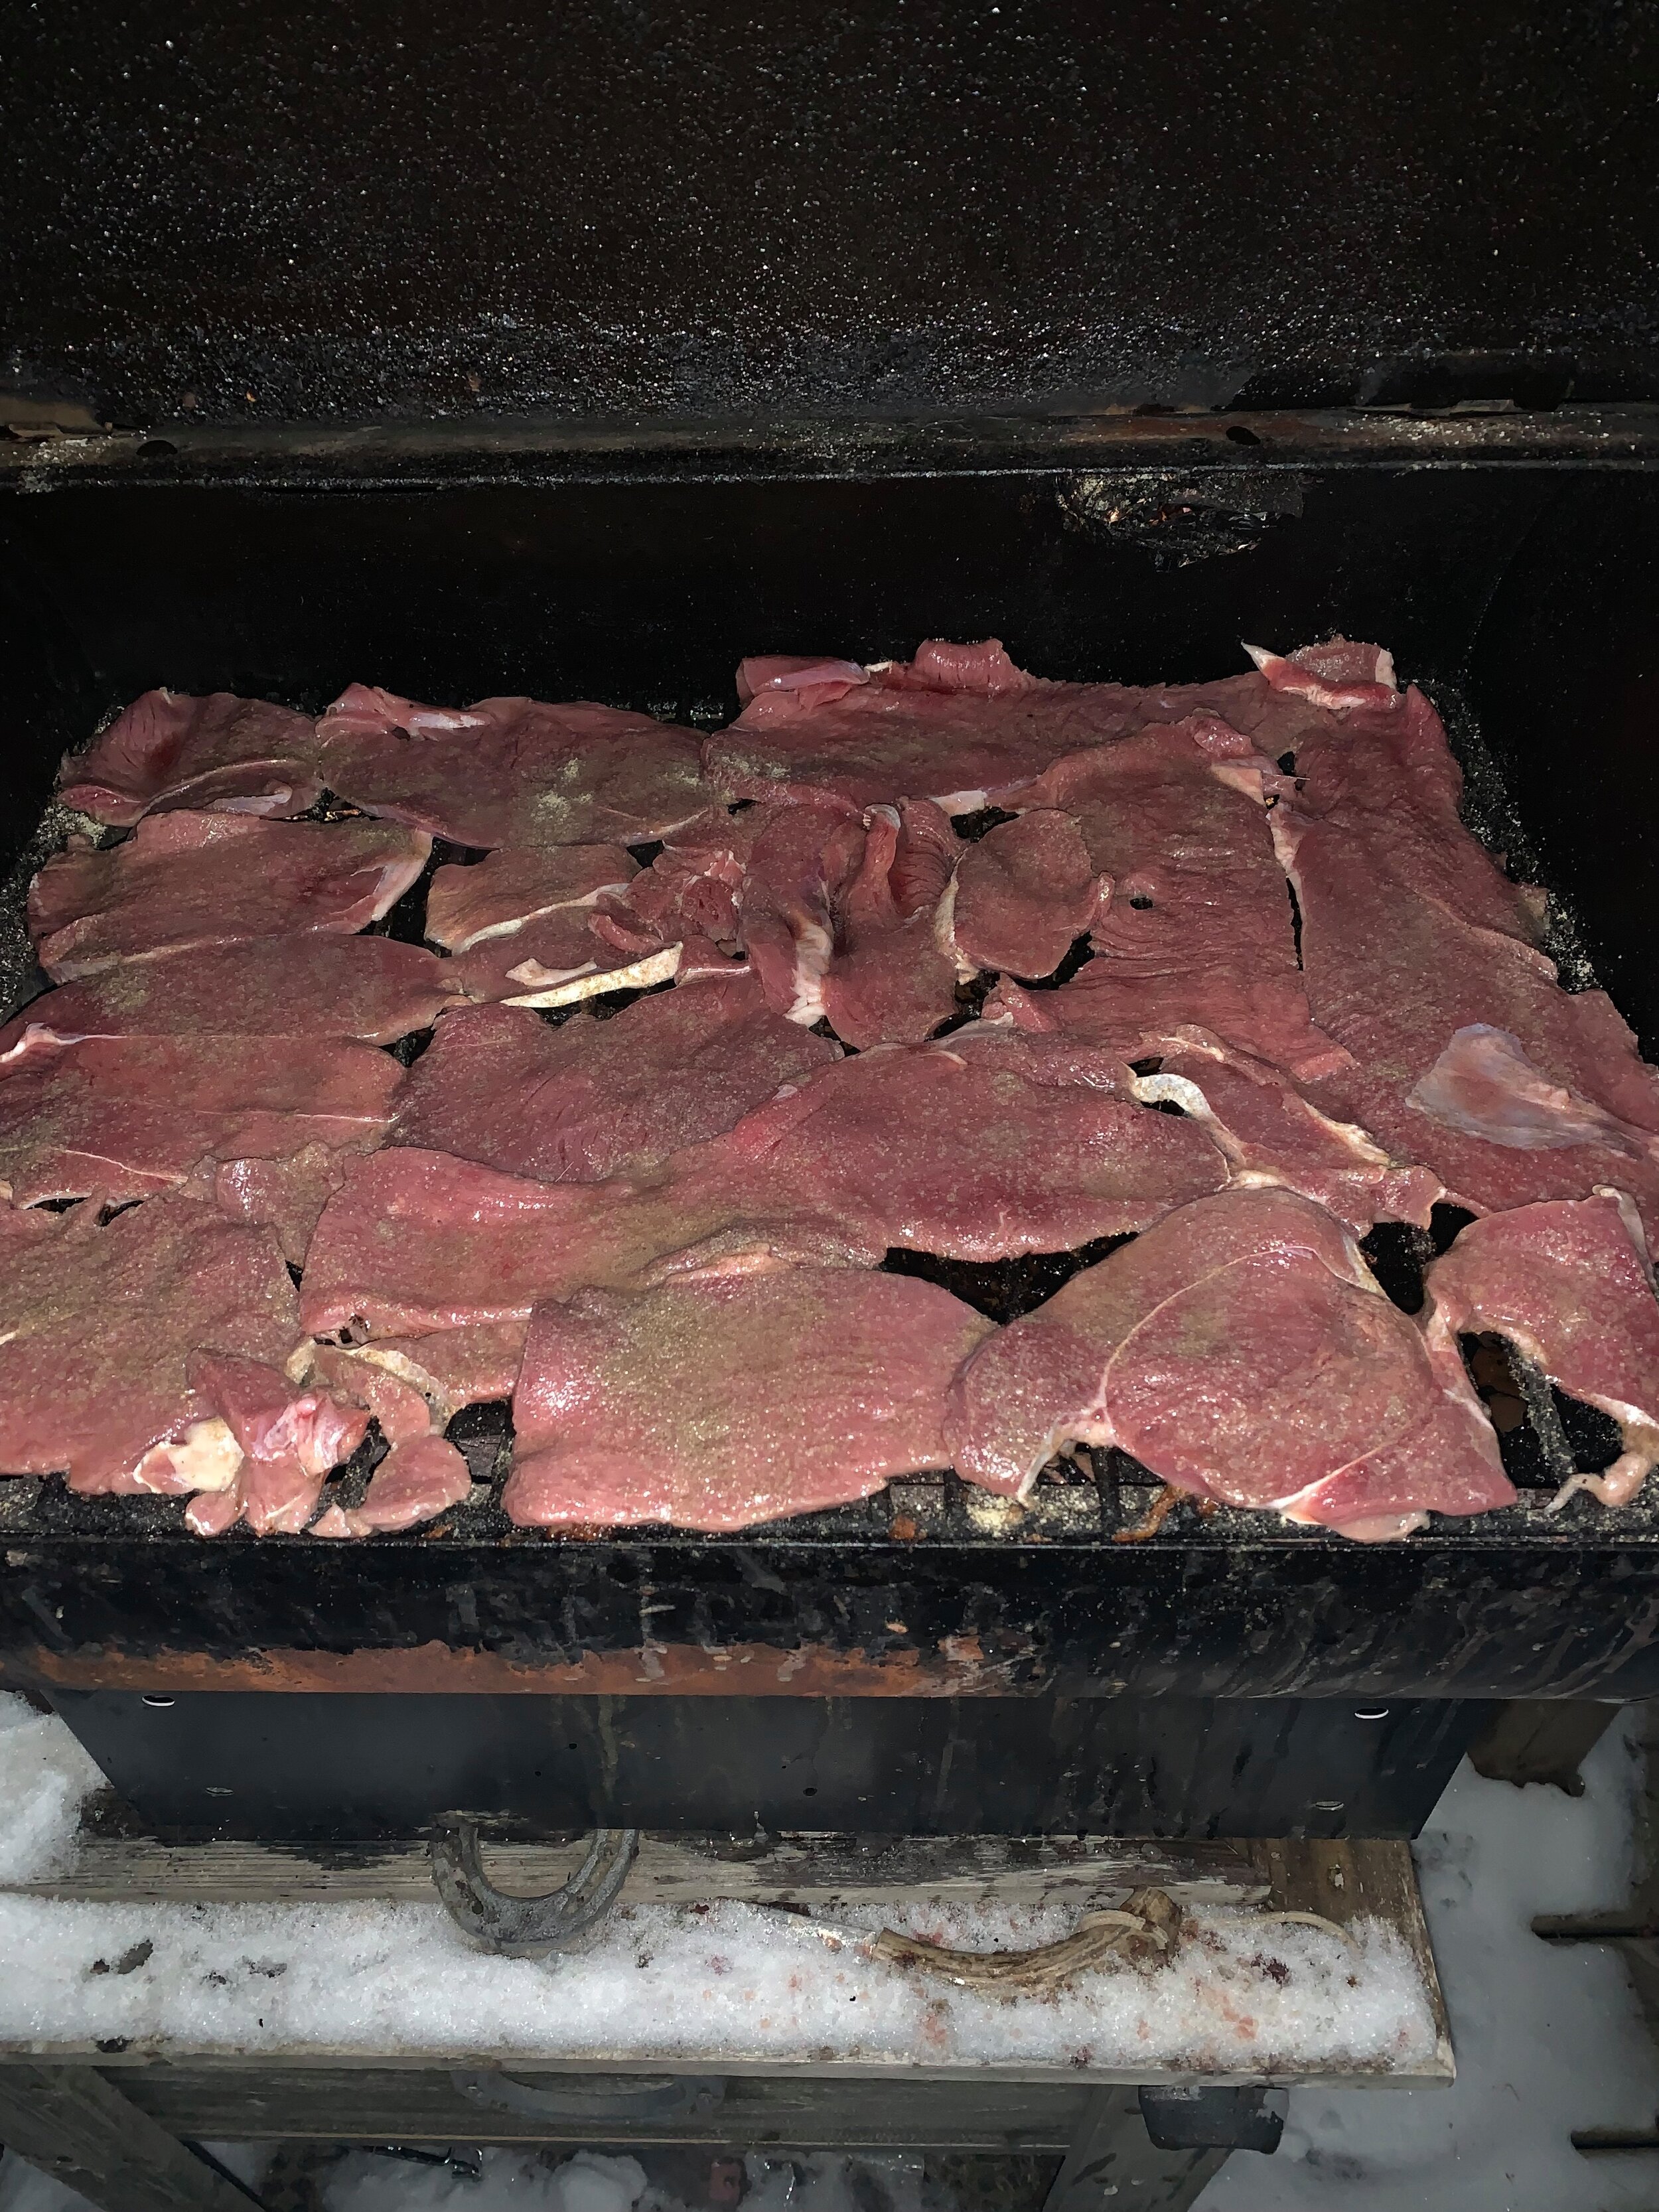
So, after an afternoon of slicing some venison, I tossed it into a brine of Hi Mountain original for the night, and the following day it was time to smoke some deer meat!
With Traeger grills, you simply fill the pellet hopper and turn a dial to smoke mode, wait a few minutes to warm up then toss your sliced meat on……. 3-4 hours later, here is the result, a relatively healthy snack that my whole family loves!
The other thing I wanted to mention, is something I’m convinced has helped keep some of my trail cameras in the woods taking pictures for 5 to 6 years and working like day one!
At this time of the year, in my opinion, there is very little value in having cameras out. I say that because this is the time a lot of bucks lose their antlers, rendering them almost indistinguishable. Also, it gets so cold that the camera parts themselves become very brittle and could easily be damaged in the wind by debris. I’d rather not waste the batteries, the cameras or my time. However, when I start taking down my cameras for the winter, I quickly learned that flipping the power off and tossing it on shelf gave me about a 50% chance of it working properly next summer. At 200$+ a camera, that’s not a good investment.
So, I would like to go over my process of putting those cameras “to bed” for the winter. It’s nothing time consuming or difficult to do, but it has helped better the life and functionality of my cameras without question.
When I pull my cameras down for the year, I try to follow these steps for each of them. First, I do the fun part and check all the photos from post hunting season. Check which bucks made it and then dream about hunting them next season. But what comes next is just as important, especially if you value those cameras as key scouting equipment. Once the card is empty, I like to immediately format it and put it back in the camera. At this point, I’m checking to make sure the camera survived the harsh Alberta conditions I leave them out in and ensuring it has a memory card that works for it when I need it next summer. I’ll even make it take a few pictures of me at the kitchen table to verify it’s functioning properly.
Knowing that the camera still works, I’ll wipe the motion sensor and camera lenses with some Windex. Then, and most importantly, when the camera is at room temperature, I’ll pull the old batteries out and dry off the battery terminals with tissue paper, trying to avoid any corrosion build up on the connectors over the winter while in storage. Now that I have my camera “winterized” I like to wrap it in a small hand towel to be stored in a Tupperware container with some silica salt for the winter. That’s it, that’s all folks.
I really hope you enjoyed and found some value in this article. Check in next week and I’ll be back out in the field pulling the other half of my cameras down for the winter. It will be my last chance until spring to see if Double D, my hopeful target buck for 2020 even made it. Until then, my fingers will be crossed that he makes it to 170”
Thanks for Checking out Non-Typical Nation and Happy New Year!
Charlie!


